



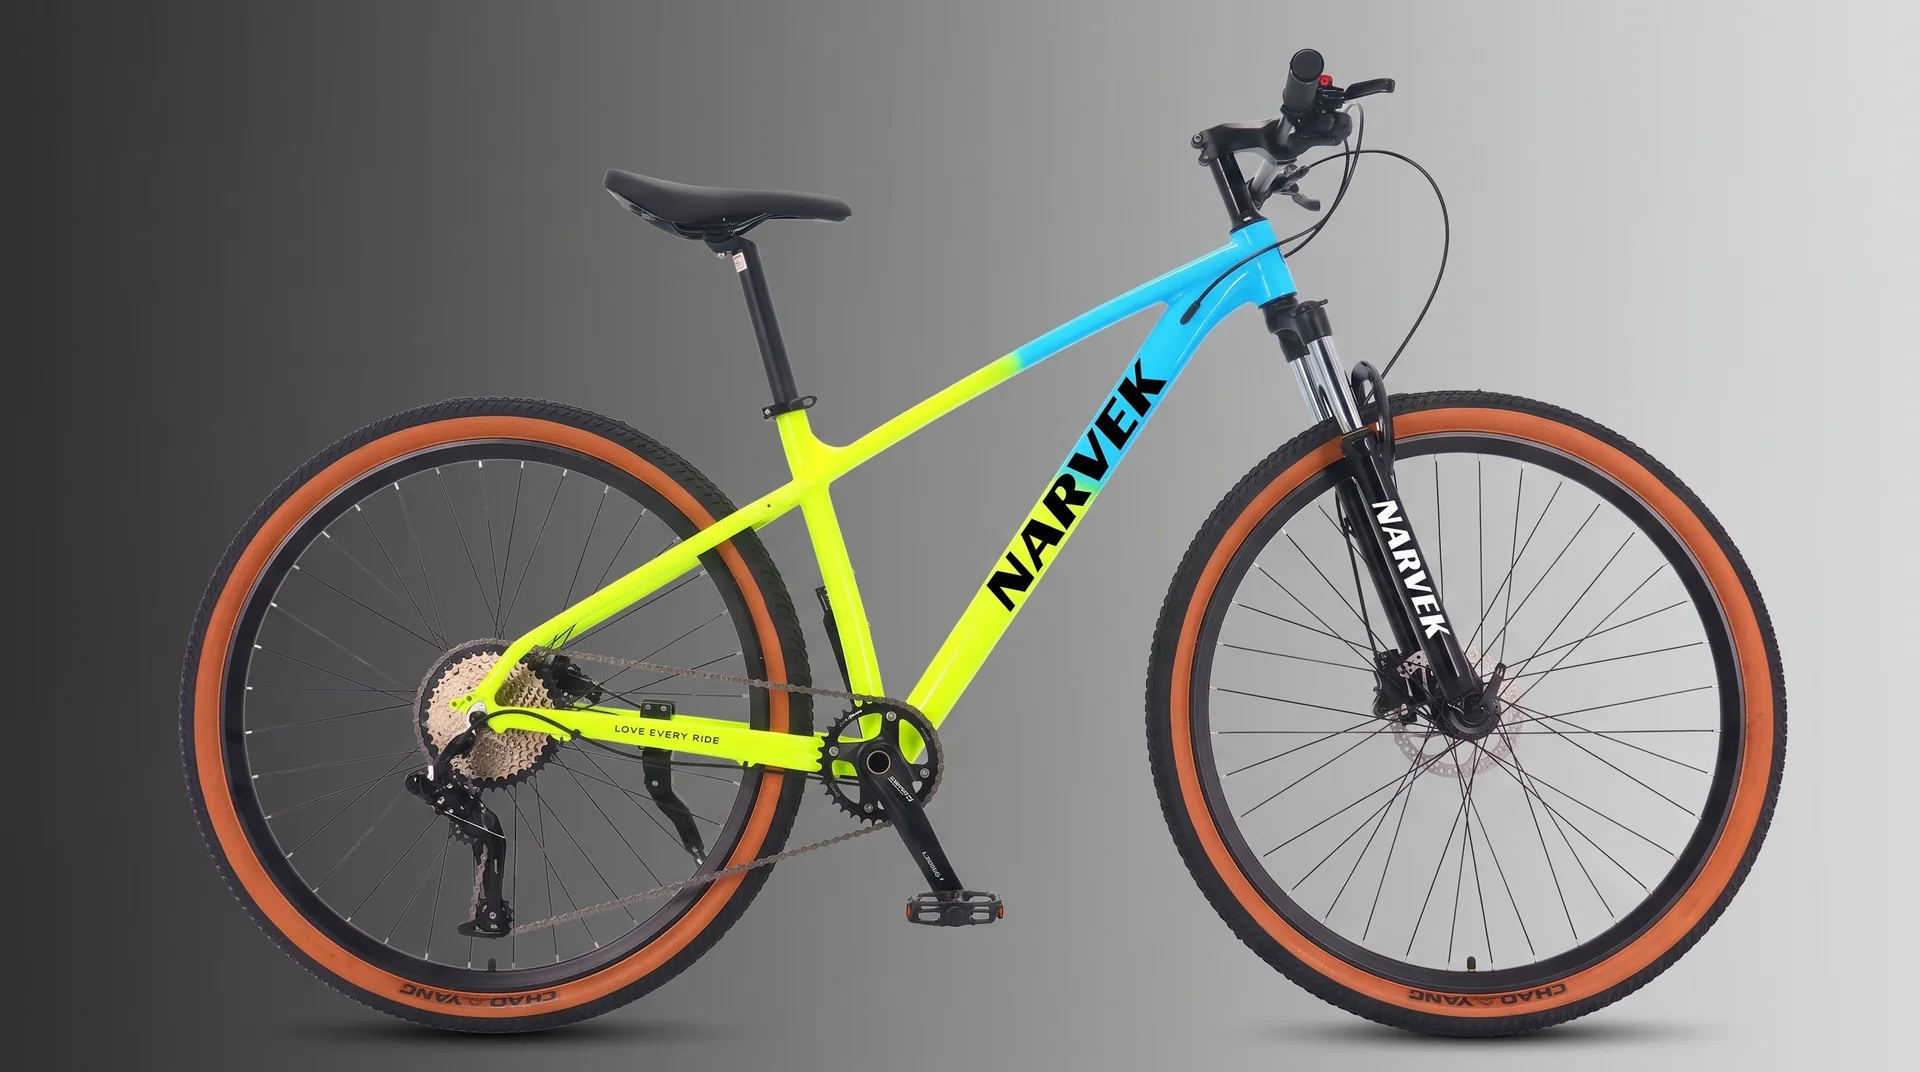
Many bicycle projects begin with a spreadsheet of components. That can produce a bike, but it does not always produce a coherent business. A better starting point is the market problem the range needs to solve.
1. Define the rider before the model
Describe the primary rider in practical terms: experience level, typical terrain, ride duration, maintenance expectations and purchase motivation. A first-time recreational rider needs a different balance of geometry, serviceability and price than an experienced trail rider.
Try to avoid descriptions that are too broad. “Mountain bike customer” is not enough. “Weekend trail rider buying from specialist retail at a mid-market price” gives the project team a much clearer design direction.
2. Set the commercial position
Establish the target retail price, expected landed cost, sales channel and margin structure. These numbers influence frame material, suspension, drivetrain, braking and the level of private-label execution that is realistic.
- Target retail or wholesale position
- Expected first-order and annual volume
- Competitor references in the target market
- Sales channel: specialist retail, general retail, online or distribution
- Expected warranty and service model
3. Build a simple platform architecture
Most growing brands benefit from fewer shared platforms with clearer model differences. Shared wheel standards, frame families and service parts can simplify purchasing and after-sales support.
A practical range might include an accessible hardtail, a better-equipped hardtail and a full-suspension model. The reasons to trade up should be visible to the rider—not only to the purchasing team.
4. Choose specifications as a system
Components interact. Fork travel changes handling. Tyre volume influences comfort and clearance. Brake choice should reflect speed, load and terrain. Drivetrain level should match the intended rider and service environment.
Review the complete riding and service system instead of optimising each part independently.
5. Plan branding and packaging early
Frame colour, graphics, head badges, cartons and manuals affect timelines and approvals. Treat them as defined project areas, not last-minute decoration. Early planning also helps keep a multi-model range visually consistent.
6. Validate with the sample
A sample should be reviewed against the approved brief: fit, handling, component function, appearance, packaging and documentation. Record changes clearly before mass production.
A useful first brief
To begin, send the target country, rider description, bicycle category, price position, expected volume and preferred launch timing. The project team can use this to recommend a platform and the next decisions to make.
